1. Let's Go Fly a Kite -- after we make it!
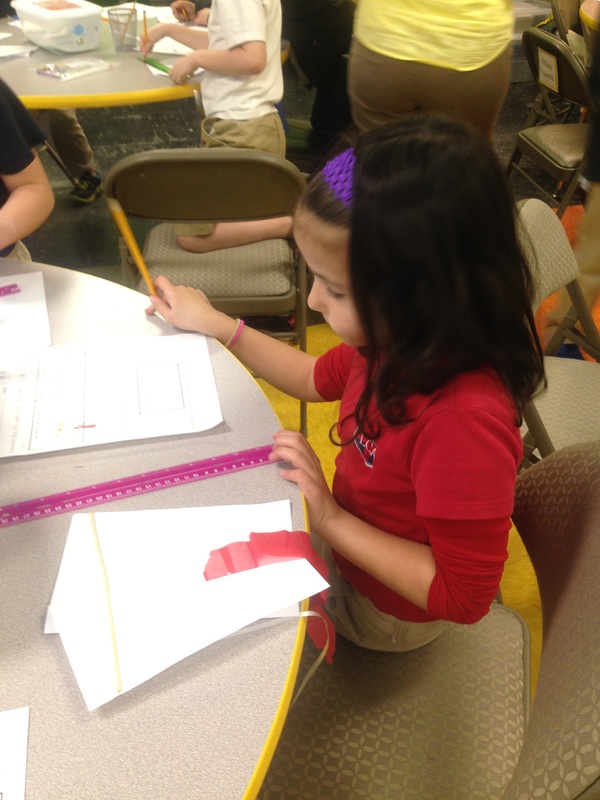
Our first lesson in our air unit was called Go Fly a Kite. In this lesson we first discussed the attributes of a good kite and what makes them fly. Next, the STEMmers constructed their kites by folding back and taping flaps, attaching a crossbar, and adding tails. Before going out to fly the kites each STEMmer measured and recorded the length of their kite, the width of their kite, and the length of their tail. Finally, we went outside (it was the perfect windy day!) to observe how their kites flew. They did really well as long as the avoided trees and the kites of others :) To wrap up, I asked the STEMmers to think about what could be done to their kites to help them fly even better.
2. Improvements!
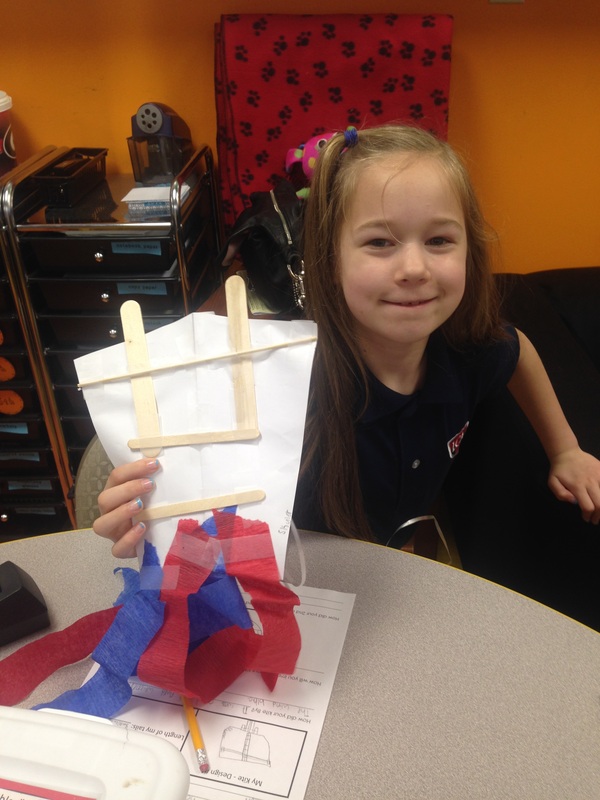
In our next session, the STEMmers PLANNED and designed their improved kites. Hopefully everyone's take-home bag made it home for kites to be tested. How did yours perform?

Check out these cool designs!


3. Skydiver!
In this activity the 2nd graders were challenged to design and build a parachute that falls slowly enough to let a load drift safely to the ground. Each STEMmer started with a 10 x 10 piece of canopy material, after choosing between thick, heavy plastic, thin, light plastic, and tissue paper.
Next, the STEMmers measured the length of their canopy material and deduced that the width would be the same since the material was in the shape of a square. The 2nd graders were also introduced to the concept of area. After multiplying to find the area of our canopy material, we were ready to move on.
In the next step, each STEMmer added 8-inch suspension lines to each corner of their canopy. Then after adding the load (a paper clip) we were set to test.
In our first test we wanted to observe which canopy material allowed the chute to fall the slowest. After testing three times, we came to the observed that the thin, light plastic seemed to do the job the best.


4. Skydiver cntd.
In the first part of this lesson, we were seeking to find out which material works best for a parachute canopy between heavy plastic, light plastic, and tissue paper. After concluding that light plastic consistently performed the best, the next variable we wanted to look at was canopy size. Using light plastic as the material, does the size of the canopy make a difference. After discussing this question, each STEMmer chose the dimensions they wanted to try for their next chute.
There was a lot of variety in the dimensions chosen. Some STEMmers chose to make a smaller canopy, while even more chose to go bigger, and a few chose to go HUGE! After calculating the area for their second chute, students attached suspension lines and loads. The STEMmers also learned that size of the canopy dictates the length of the suspension lines. Those whose dimensions were 20 x 20 or more definitely needed longer lines.
In conclusion, we found that larger canopies dropped the loads more slowly, therefore they were the better way to go to keep a load safe as it travels to the ground, However, we also found out that a canopy that is too large can be a problem as well.
Check out the different sizes of the plastic chutes!

Blow It Away
This week the 2nd graders were challenged to design and build a wind-powered car. Using an index card, a straws, and four Life Savers as a base, the STEMmers built their cars. Although many of the bases of the cars were similar since directions were given on how to build them, many of the STEMmers came up with some really ingenious ways to keep their wheels stable.
After ensuring that their wheels could turn to carry their car, the 2nd graders got busy designing a wind catcher that could carry their cars a minimum of two feet. One more piece to the challenge is that each of of the STEMmers had to attach a paper clip load to their cars.
When it was time to test, the STEMmers watched to see if the car was able to pull the paper clip load over the finish line. If not, they observed their car and tried to determine what was keeping it from moving as they should. If so, the 2nd graders were challenged to make their load heavier, or even try to design a totally different kind of system to catch the wind.
Your child brought home a bag similar to the one below. Be sure to let your child try out his or her car at home and see if you all can get it to move even farther than it did before!
Check out some of their amazing designs below!
