1. the Human Body
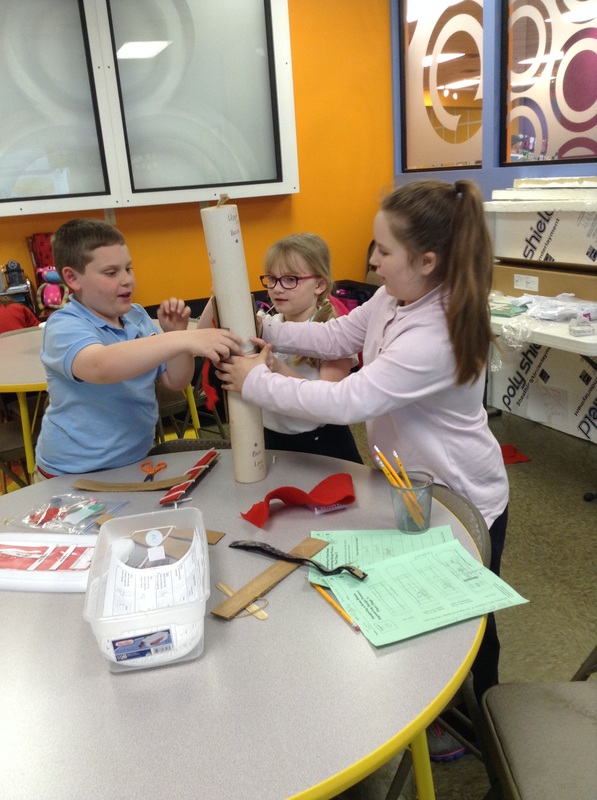
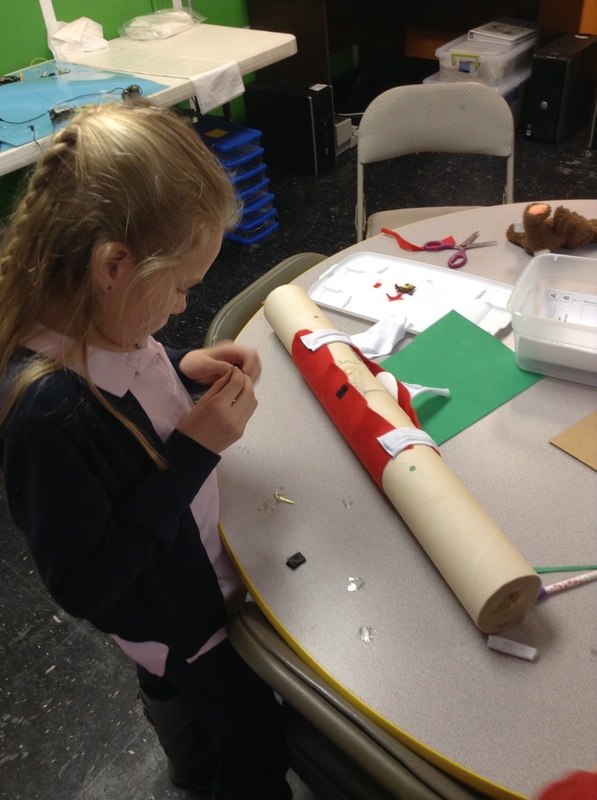
To kick off this unit, students worked with groups to become experts on one organ system in the human body. Using the website kidshealth.org, the groups watched short videos then recorded information about their chosen system. After this was done, the groups chose one organ from their system to design and creatively build using basic recyclables. Can you tell which organs are represented below?


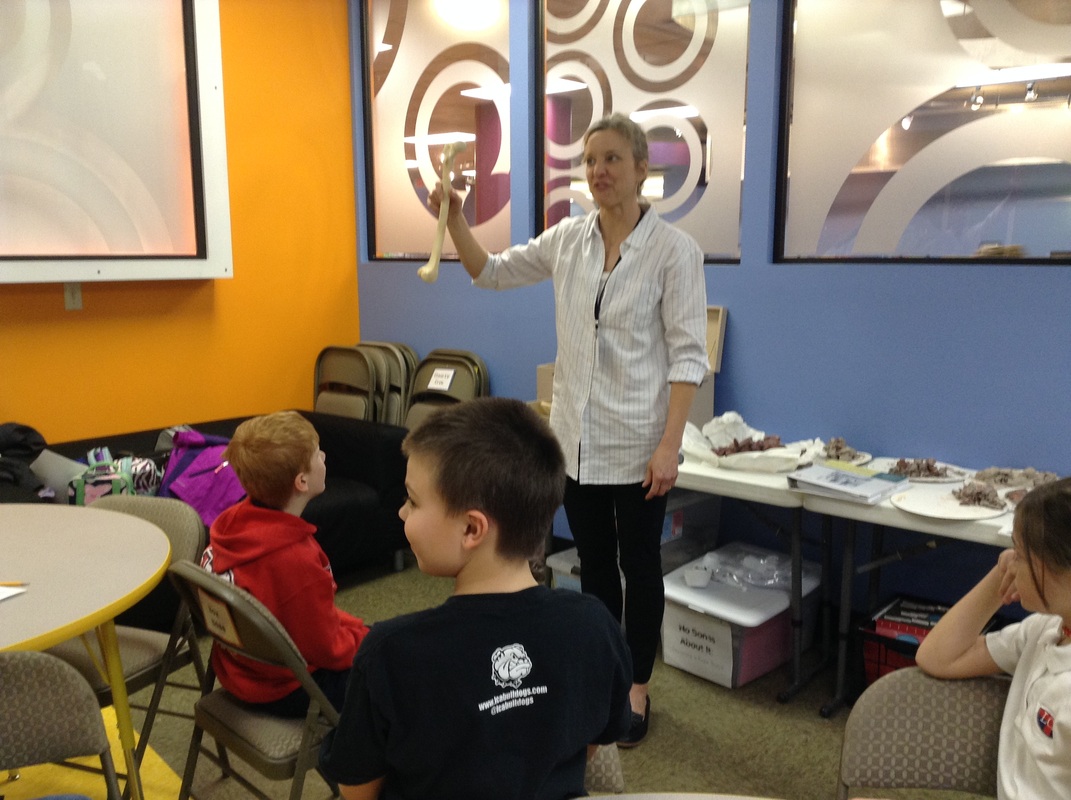
2. A Skeleton and Knee Surgery
Mrs. Smith, Cate's mom, was able to bring in a real skeleton from a cadaver to share with one of the 3rd grade groups. It was really great to see the entire skeleton up close and personal. The STEMmers were able to see many of the bones in the human body - the largest (from the leg) to the smallest (from the ear).


Next, the 3rd graders were ready to learn more about the knee, the focus of our next design challenge. To do this, we performed a virtual knee surgery using the site EdHeads.org. The STEMmers learned all about the knee, the process of a knee replacement surgery, and some of the technology created by biomedical engineers.

3. Erik's Unexpected Twist
Moving on into the unit, I shared some of the book, Erik's Unexpected Twist. In this story the 3rd graders met a boy from Germany who tended to be accident prone. One of his major accidents involved a tear in the ligament of one of his knees. The story goes on to explain how Erik's knowledge of how a healthy knee should move and designing saves the day on a camping trip.

4. Goniometer.....is that a real word?
Yes, goniometer is a real word and it's a tool that is really used in the healthcare profession to measure the range of motion in knees. We used our paper goniometers to out more about how a healthy knee should and should not move.
After doing this, we used models of injured knees to find their range of motion. These will be the very same knees the STEMmers will design the knee braces for.
After doing this, we used models of injured knees to find their range of motion. These will be the very same knees the STEMmers will design the knee braces for.


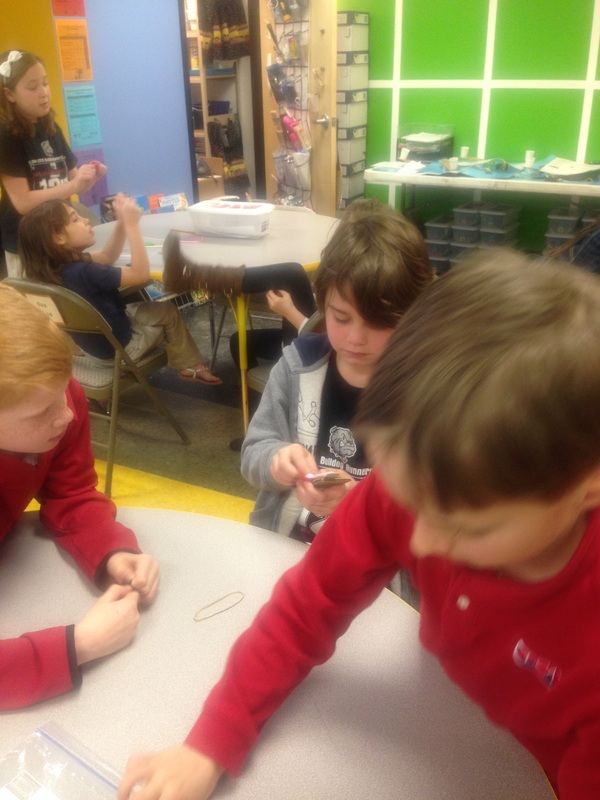
5. Time for Design!
Now with all of the information we've learned, we are almost ready to design our knee braces. But first the STEMmers have to take a look at the materials available to them to create the knee braces out of.

Many of the STEMmers couldn't believe they were not able to use tape :)
On to the challenge! The 3rd graders were asked to design and build a knee brace that will support an injured knee so its range of motion will be the same as the range of motion of a healthy knee. The STEMmers really came up with some very creative ideas.
On to the challenge! The 3rd graders were asked to design and build a knee brace that will support an injured knee so its range of motion will be the same as the range of motion of a healthy knee. The STEMmers really came up with some very creative ideas.


Testing and Improvements
As the biomedical engineering teams completed their knee brace designs, they began testing. Each design went through three different test to determine it's performance.
Test 1: Range of Motion - For this test, teams observed to see if their brace was able to stabilize their injured knee enough so it moved like a healthy knee.
Test 2: Usability - Biomedical engineers want to design technology that can improve lives. This means that the technology has to be usable. In this test the teams determined how easily their brace could be put and removed. Their goal was to be able to do both in under a minute. (In this test the teams also had to calculate the average of two times and round it to the nearest tenth).
Test 3: Durability - No one wants their designs to not hold up under use. This test helped the teams to determine whether or not their designs would still do their job after a lot of use.
After calculating their final score, teams decided which area could be improved. Each team moved on to make those improvements, then retest. I was so excited to see all of the creativity and diversity in the designs. Way to go biomedical engineers!
